-
Course Correction
I decided to make a new rudder. The old rudder was perfectly fine however, the aperture was too small for the feathering prop I wanted to install. Also, I felt too much correction with the rudder was necessary in moderate to heavy air. I hate to mess with the original Alberg design. It is elegant and compliments the lines of the boat perfectly. However, I suspect my boat may have been delivered with a taller than standard rig. (Perhaps it was a Great Lakes light air modification.) My P measurement is 1′ longer than than standard. Seat of the pants engineering led me to decide I needed to add 15% additional surface area on the trailing edge to help with the increased main sail area.
Initially I planned to open up the aperture and scarf some wood to the trailing edge but this stared to look too hacked together.
Abandoned Modification
Back to the drawing board. remove the original bronze shafts and build a new rudder. Luckily I happened across a 6/4 x 24″ mahogany board that would allow a one piece replacement. It is a testament to the quality of the bronze that Pearson used that, after almost 60 years, when I removed the nut access windows, the bronze tie rods unscrewed like they were assembles yesterday. Once removed, I used an induction heater to heat up the upper shaft and bend it back 30 degrees to allow for the larger aperture.
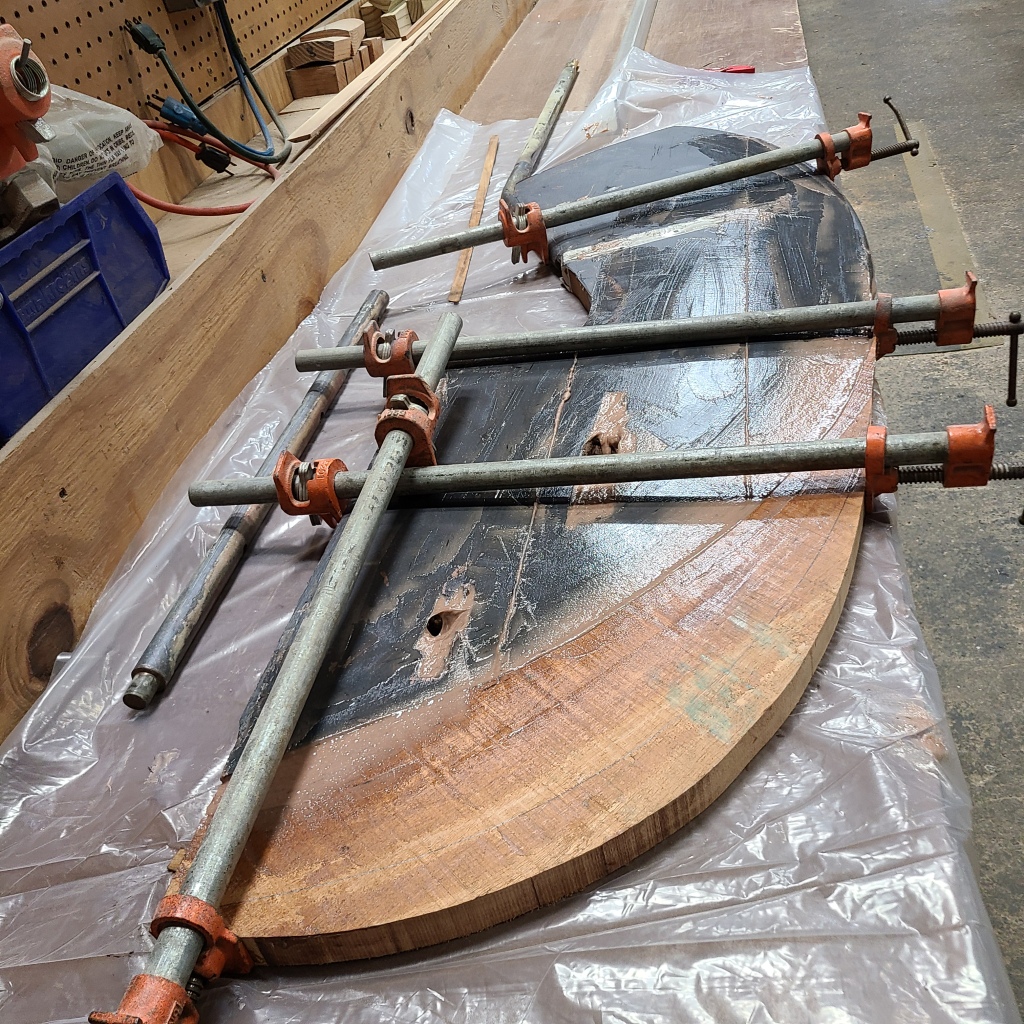
Next step is to make a template for the new rudder. I installed the new prop then made a Masonite blank and experimented with shapes that cleared the new prop, had the additional surface area, and looked like they belonged to this classic design.
https://bisquitreborn.files.wordpres...419-copy-1.jpg
Once I decided on a shape I cut the plank to the new shape, ran the leading edge through a router with a 1″ rounding bit to accept the upper and lower shafts, drilled holes for the tie rods, then using a 1 1/2″ hole saw made windows for the new nuts.
https://bisquitreborn.files.wordpres...412_181048.jpg
New rudder faired with nut windows filled.
Next step is to install, coat with epoxy barrier coat and bottom paint.
https://bisquitreborn.files.wordpres...4-1-copy-1.jpg
On the boat
https://bisquitreborn.files.wordpres...151-copy-1.jpg
Barrier Coated with IP 2000 E
https://bisquitreborn.files.wordpres...419_142029.jpg
Bottom Painted and ready to go
 Posting Permissions
- You may not post new threads
- You may not post replies
- You may not post attachments
- You may not edit your posts
Forum Rules


 Reply With Quote