-
Well, of course, if the joint can be reinforced from inside, that is the best way to go.
It's probably, also, the messyest, dirtyest, dustyest, most awkward and time consuming way to go.
BUT, some people, like me, have a knack for doing things the hard way. You too, huh?
So, you'll still be using glass tape. but not necessaryly. If your're interested, a couple dimes' worth:
Have succesfully over the years used an E-glass (cheaper than S) product called Xmat.
This is a double bias (Biaxial) NON-woven (non-basket weave) cloth with a thin mat backing
held together with very light stitching.
Reinforcements are plain flat ribbons of fibers laid at 45 degrees to the length of the roll.
A second layer of the same under the top layer crosses the other way. Not woven.
The stitching runs lengthwise with the roll. There is a thin layer of mat on the B-side. Can't wet out the cloth from the mat side.
This material usually comes in heavier weights because of its construction.
It is, however, much stronger than woven cloth of same weight. Glass fibers get crimped as they interweave making woven fabric not as strong. There are less fibers in a given area than biaxial - and therfore more epoxy tends to be used in hand lay-up- which makes it more brittle.
Biax is more fiber compact, yet wets out very easy.
The bias lay-out of the cloth off the roll means that 100% of the biaxial fibers cross a seam. Compared to 50% in woven cloth.
Bias tape also has the fibers at 45 degrees. Comes in various widths from 1/2" to 12". Most common are 4-6-8-12" in 12oz-18oz-and 24oz.
These weights make for a rather stiff material as it comes off the roll. Easy to handle, doesn't pull out of shape like woven stuff.
Biaxial tape is unselvaged. Woven cloth tape has an unravelable edge on both sides of the roll. It is very convenient and precise to work with.
Biax needs a light touch when wetting out with epoxy. Can't worry the cloth at all. The brush will start pulling stitching out. Quickly making a mess.
However, with a pliable plastic spreader held at a low angle you can quickly saturate a flat piece. At the same time dragging excess liquid off the cloth. Then pick the wet piece up and place it on the hull (in this case) with hardly a how-do-you-do. Use gloved hands to press the wet fabric onto the hull. Liquid epoxy does not run out of this stuff.
(90% ispropol alcohol from the drug store and paper towels will cut epoxy off nitrile gloves better and quicker than the toxic canned stuff.)
I'd forget the tape and cut strips off a 50" wide roll. Inside the boat it's about the right length to wet out.... and put up.
Bi-metal utility blade pulled along an aluminum edge.
Custom widths is cool. It's exactly the same stuff as the tape - and probably cheaper.
If carefull you'll be able to wet out the pieces on the flat (settee?) Pick one up and place it accurately over the seam - and press it on with the hands - but only ONCE, because you will start picking op threads and getting strings everywhere. Just leave them alone til dry.
You can use pieces of seran-wrap or wax paper to push this very conformable-when-wet material into crannies, around protrusions and turn corners. the film creates surface tension which helps hold the biax in difficult situations. Leave the surface tension where you've used it......it peels off after set.
(Not all plastic film is polyethylene, so watch it, some films will get glued!
A cheat I've had to use at times while laminating is to have some epoxy gel mixed up, paste it on with brush or spreader
to smooth out depressions or fill holes that the wetted cloth wants to bridge. Always use slow hardener, which may be too fast anyway.
Sorry about waxing this subject on$on..... while I know you know how to do this sort of thing
.....but for newbies who maybe can use a few tips. Opinions.
Working inside a boat means using the cleanest epoxy you can find. I use 100% solids (no solvents) low VOC, 2 to 1, premium laminating epoxy from a local West Coast brick$mortar. Haven't bought WestSystem epoxies for more than a decade - they may have cleaned up their act, but I doubt it. If I had to buy epoxy on line I would buy it from smaller outfits who keep their customer's interest foremost.
My stuff is now over $200 for 1 1/2 gal two part. It's not green, but it's clean: no solvents, no formaldehyde.
Imco two layers of 24oz biaxial with a cosmetic layer of 10oz woven cloth to finish would be more than adequate.
I did not do this for A338 - the toerail is filled in and a single layer of 12oz biaxiel Xmat was used as tabbing to finish it off.
Ariel cabin liner does not go all the way to the hull. making it easier to tab the angled connection of the filled toerail to the hull.
Any weight of wet biax glass is conformable.
.................................................. .................................................. .................................................. ................................................
It seems probable that the long rip at the seam of the Triton VentoDea was caused not only by the weight of the comber,
but by the whole boat getting twisted for a second or two. Twist a banana and it'll probably pop open at a skin seam.
.
Last edited by ebb; 11-16-2013 at 05:29 PM.
-
Hey Ebb, twisting a banana could do it. In addition, it may have been picked up by the freak wave and body slammed on solid water (is it an oxymoron?) I read somewhere that is how Humphrey Barton's Vertue XXXV cabin house was partially torn open. When a boat is body slammed down the force from the impact seeks the weakest link to release the absorbed engergy. In Vertue XXXV's case it is the cabin trunk and deck joint because it is a wooden construction and is fasterned to the deck by mechanical means. In a fiberglass boat like Vento Dea the cabin trunk is molded as a part of the deck so its weak link is the hull deck joint.
Thanks for the tip on biaxial tape that is exactly what I intend to use. It is alot easier to handle than the standard woven cloth tape although it will still be one messy job. Something I am not looking forward to.
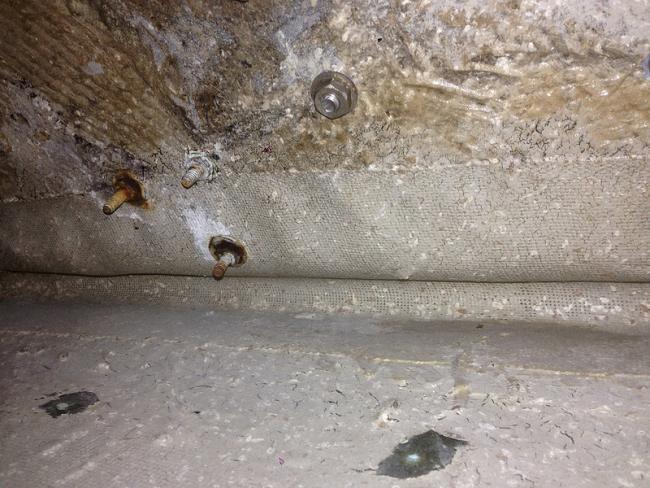
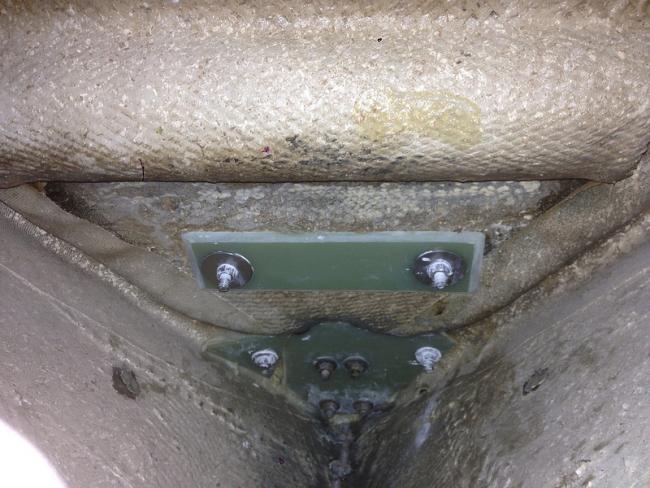
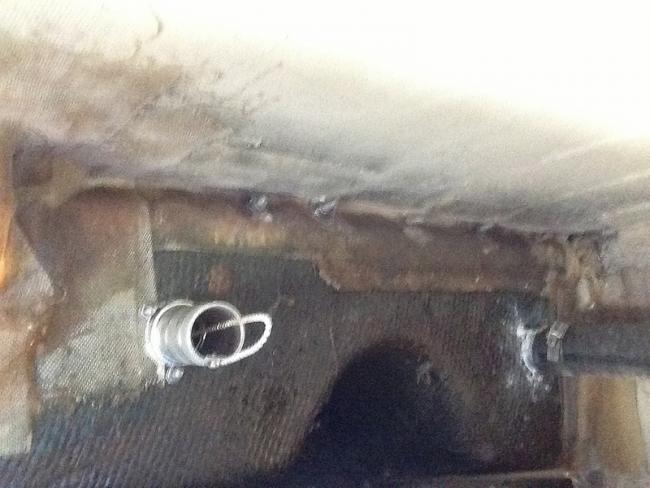
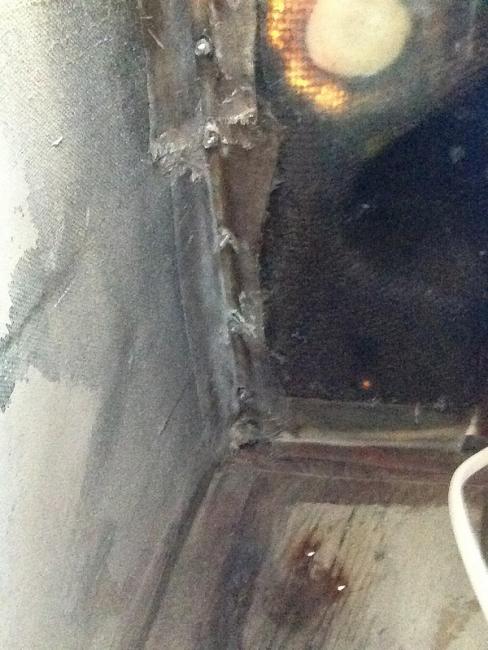
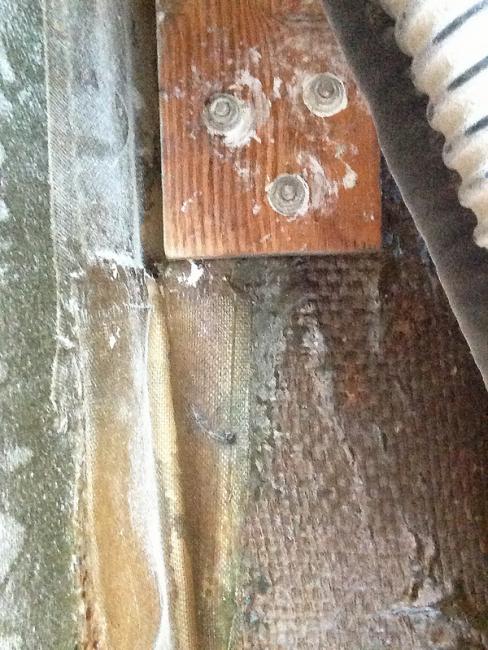
I went to my boat today and took some pictures of the existing internal tabbings on Blossom. I focused on the anchor locker and cockpit lazerette areas since the access there are better than the areas behind the cabinets and shelves in the saloon. The first four pictures are from the anchor locker. Please ignore the rusty screws which I know I should have replaced long ago, but hey we are all human beings. I want to point out the obvious that what we can see in these pictures are the final layer of the tabbings. We don't know how many layers there are or how thick they are or how well they are bonded to the hull and deck. What you can see however is that the final tabbings in the second picture are not bonded to the deck properly, probably due to the deck stringer being in the way. The G10 backing plates and the machine screews and nuts are for the bowsprit I added recently to fly a code zero in light conditions.
Last edited by Triton106; 11-16-2013 at 10:40 PM.
-
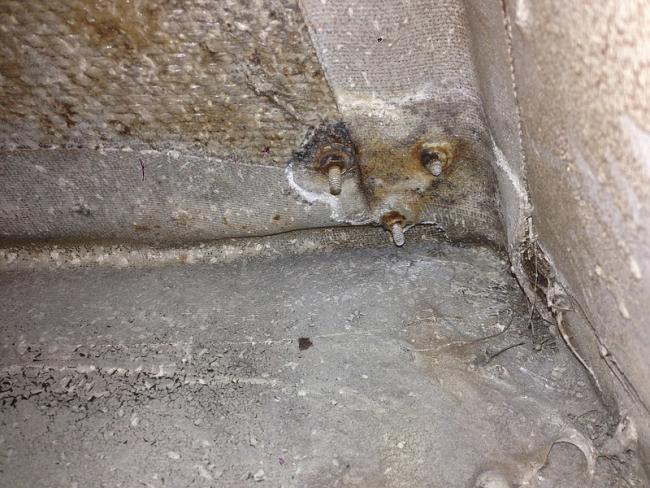
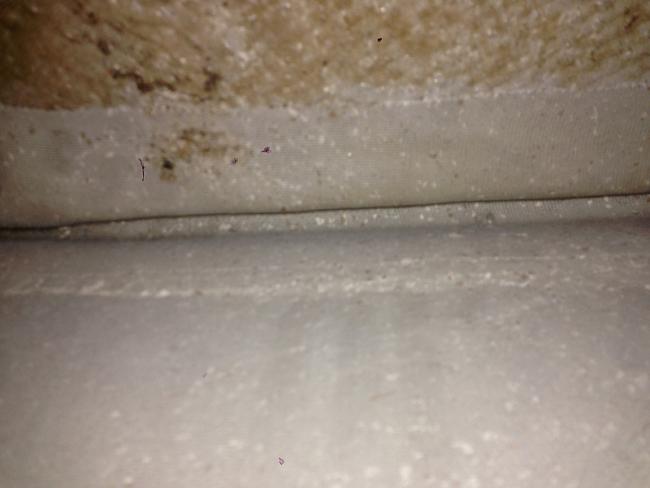
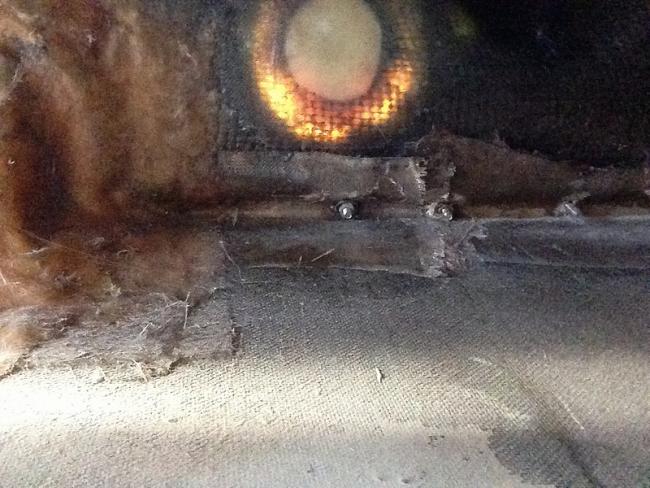
The next four pictures are from the port and starboard cockpit lazerettes. Please pardon the fuzzy quality of the pictures as it was hard to steady the hands to take pictures upside down in the lazerette. As you can see the tabbings in these areas appear to be different than the ones in the anchor locker. For one thing they are not painted. My speculation is that they were added afterward by a PO who clearly needed a little more practice with fiberglass work. The workmanship is not something I wish to emulate. The bonding to the hull and deck are very poor. I will probably have to grind down this area all the way to the hull and deck which is not a bad thing as it will provide me with some clue as to how many layers of tabbings were used and how thick the total tabbings are in this area.
 Posting Permissions
- You may not post new threads
- You may not post replies
- You may not post attachments
- You may not edit your posts
Forum Rules


 Reply With Quote