Not that I know of.Originally Posted by bill@ariel231


Not that I know of.
found it.. looks like an ensign/electra hull...
interesting thing in the old photo, not a single pair of gloves no masks or goggles.
quite a contrast with the current ensign build method, there is a slide show at the new class association web site that takes a boat from a bare mold to a finished boat (caution it's a 200Mb file)
http://www.ensignclass.com/NewBoats.htm
Very cool ArielBill
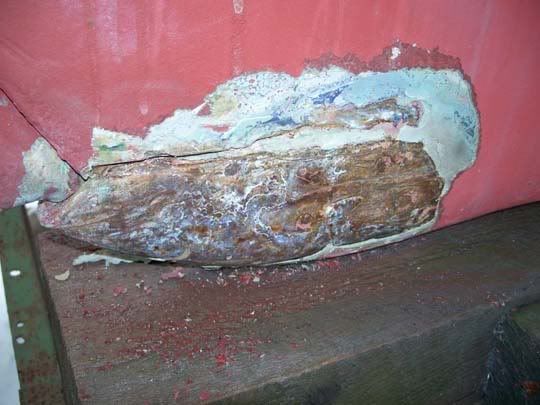
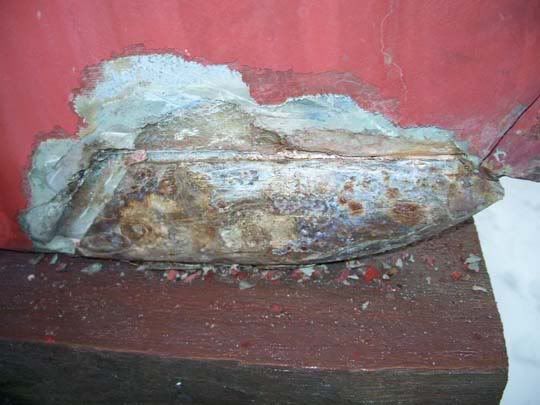
The ongoing battle to get A-24 to my house ensues as we received 1.5 feet of new snow last weekend on the day I planned on moving the boat and it is snowing hard again right now with another 6 inches forecast. I went down after work today to remove the aforementioned snow from the boat and snapped a couple more shots of the rudder shoe after stripping (quite easily I might add) the fairing compound and fiberglass sheathing. In a perfect world I will have enough time to take the shoe off and put it back on after epoxying, 5200, etc. before I put in this summer (July.) Depending how long it takes to commision the boat will determine whether I do the whole 9 yards on this repair, or just patchwork to get me through my anticipated two month season in the water this summer. As mentioned previously the shoe is solid and fixed very well to the keel. There was water weeping out of the shoe when I opened it up a while back and the area seemed much drier today. If the water trapped inside the keel void is going out then it must be able to...
One step at a time...
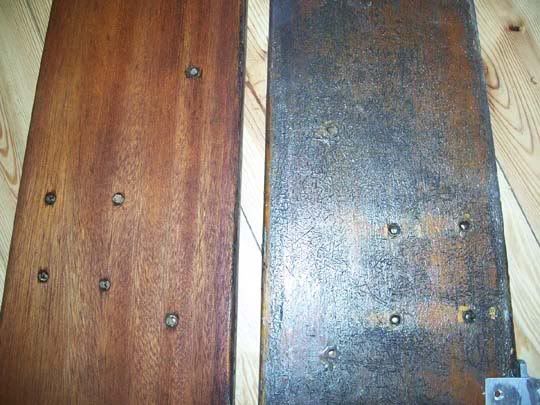
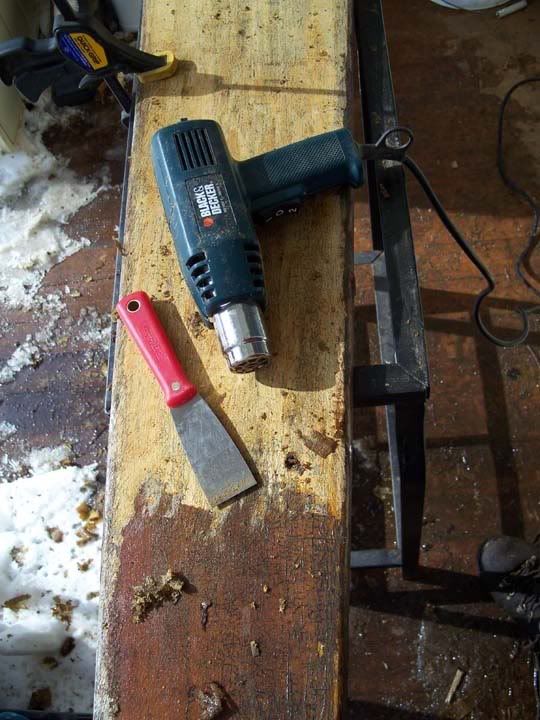
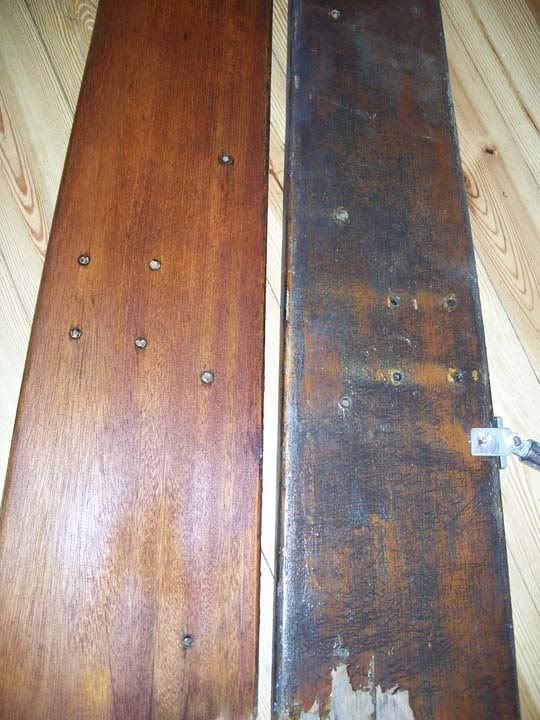
The coamings on A-24 were in pitiful shape in terms of finish and it wasn't until I removed the finish and got down to sanding that I knew their true condition. To my delightment I found no rot found anywhere on the coamings themselves. There was a little on the bottom of the pieces that touch the side of the cabin that the coaming screws into. The plan to fix that is to cut out the rotton part and glue up another piece of mahogany to match. I am fortunate to have a pretty good supply of mahogany from the same era that the Ariels were made because I got my hands on the remains of an old 1959 runabout that someone cut up. The wood looks identical once sanded so it should be a seamless fix. To remove the finish I used a heat gun with a steady, patient technique. I was able to remove all the finish on both coamings in about 1 hour. Then I sanded with a typical orbital sander, followed by hand sanding to prep for the varnish. Both coamings are now ready for varnish which should be started this coming weekend. Below is a picture of the half-way point with the heat gun and a couple comparison pictures after finishing the first coaming.
Last edited by Tim Mertinooke; 03-20-2007 at 04:43 AM.
Ariel #24 made the 54 mile journey to my house with no incidents. The trailer and boat performed perfectly thanks in part to good planning and preparation. Now the projects begin starting with a marathon grinding session on that keel bulge. Don't worry, pictures will be coming.

Last edited by Tim Mertinooke; 04-29-2007 at 06:42 PM.
I decided to attack the bilge last night and start to remove the foam to see what lurks below. The foam was pretty easy, although annoying to remove. It was well saturated a couple inches below the top which is what I expected as that is where water would travel. Beneath the foam were the two lead pigs everyone talks about. I removed them so that I could get a better angle and view. Now there is a nasty "Ariel Soup" that I'll remove today after work with the shop vac. I think that I am close to the bottom of the keel by my measurements. I still need to work my way back toward the aft part of the keel, but I think I am close. Once all the foam is removed, my thinking is that the entire keel void will have exposed itself with the exception of the space around the lead ballast. I'm mulling over my options thinking of a way to have a real bilge and prevent all the annoyances and damage caused by the original foam setup. I can't see how water can travel from the void I am removing foam from and the space around the lead where water obviously made its way due to the fact that its expansion bulged my keel. Some of you have glass over the foam which mine didn't.
1. Has anyone seen a bilge like mine with just foam?
2. Has anyone removed all of the foam from the top like I am?
3. Is it correct to assume that the entire keel void with the exception of the void around the lead ballast can be reached from the top where I have access?
In a perfect world all the gunk would be removed and I will have a smooth clean bilge that doesn't let anything in or out unless directed by me via a pump.
Before: Looking Aft
During

Last edited by Tim Mertinooke; 03-28-2007 at 12:35 PM.
 Posting Permissions
 Reply With Quote