


Now take the drawings and go visit your sail maker. I wish I had spent more time talking to my sail maker before deciding on a layout plan. They (sail makers) really are a valuable resource if we use them correctly.

Now take the drawings and go visit your sail maker. I wish I had spent more time talking to my sail maker before deciding on a layout plan. They (sail makers) really are a valuable resource if we use them correctly.
JERRY CARPENTER - C147
A man can succeed at almost anything for which he has unlimited enthusiam.
Hey, I just noticed the beer bottles sitting on the table by the hatch covers. Speaking from personal experience you will need a lot more of those before you finish this project! :-)
JERRY CARPENTER - C147
A man can succeed at almost anything for which he has unlimited enthusiam.
Many more beers will be sacrificed before this is over. I was going to have a sail maker tell me where the sails need to trim to. I am trying to work out a floating lead arrangement but I have not figured out how to make the inhauler work. Lots of time to work through those details.
Its been a couple of weeks since Ive posted an update on my progress. Spring is a really busy time at the boatyard. Add to that a trip to see my sons college graduation ceremony and a trip to the west coast to set up a boat for the Transpac and something had to give. Rather than that be progress on Bisquit, I decided to postpone updates. Right now I have removed all of the bad core from the deck and prepped the inner skin for new core.
I left ribbons of deck in place for a couple of reasons. They will allow for smaller, more manageable lay ups and core replacement and they will provide reference points for the deck shape when I fair the new outer skin.
The bow is re-cored. I put 3/8 G10 sheet at the bow and at the stanchions, deck fill and dorade vent to stiffen the deck and prevent water ingress in the future. I backfilled the areas where the inner and outer skins taper and meet with west system epoxy thickened with a combination of high and low density filler. I will put G10 under all the stanchions, chainplates and cleat locations aft. After it is all re-cored I will taper the deck to meet the core allow for a smooth transition on the layup.
That must be the deck fitting for an original cowl vent. There are pics somewhere on here...
Looking awesome! Are those your polished aluminum fittings, yet to be coated? Capt. Ebb had his deadlight frames anodized...
Mike
Totoro (Sea Sprite 23 #626)
Great work on Bisquit!
I have much of that original hardware, but ended up having to replace the bow and stern chocks with SS. That old pot metal isn't super strong - two of them broke in storms and..... too Humpty Dumpty to put them together again.
The fitting on the foredeck is for a cowl vent. These photos are of Lucky Dawg's vent. It screws in and has a pin with a spring at the bottom (that you may be able to see) so that you can point it any 360* direction and lock it temporarily in that in place. I've toyed with painting the inside red, but haven't done so as of yet.
pix are from this http://www.pearsonariel.org/discussi...6043#post16043
Kyle
C-65 Lucky Dawg
Kyle, I was hoping it was for a cowl vent. That is really cool. Now all I have to do is find one. At least I know what I am looking for.
Mike, The fittings are just polished now. I'll have to ask Capt Ebb what anodizing process he used.
Thanks!
Phil
Mine came with Lucky Dawg. I think Mike (C227) glassed over his vent hole and he has redone a couple additional Commanders. Maybe he has one? Seems logical that other Pearson models of the era might have the same part.
Kyle
C-65 Lucky Dawg
The one on Maika'i was gone by 1978
Check this thing out. The woman who does our varnish work managed a barn find up near the Wisconsin border. It will need a complete renovation (house paint over the gel coat and some other well intentioned improvements) but overall it is in good shape and mostly original including the Mercury Outboard. This outboard does not have a transmission. Instead it has two starters, coils and distributors. You start the boat in gear and go - there is no neutral. To stop you pull the shifter to the center position and it shuts the engine down. To put he engine in reverse you pull the shifter back and press the start button. This engages the second starter, coil and distributor and the engine runs in the other direction. They were know as "dockbusters" Too bad I already have a project.
Looks like the old Falls Flier... They didn't have headlights tho. Those old Mercurys were prized by the racing hydroplanes As there are no gears in the lower units it's a lot smaller/less drag. Unfortunately I do not have a air scoop for you.
Mike
Re: the ventilator hood. Check the recent post in the Off Topic forum about scrapping Ariel - 203. It was in the same family for most of its existence, so the hood, etc., may still exist. If not, the dismantler claims to have a large inventory of old Pearson yacht hardware.
Here you go! This guy has one: James - captainharkins@hotmail.com
From Bill's post about the Ariel being parted out.
http://www.marinesalvagemaine.com
Kyle
C-65 Lucky Dawg
Kyle - Thanks! I'll contact him
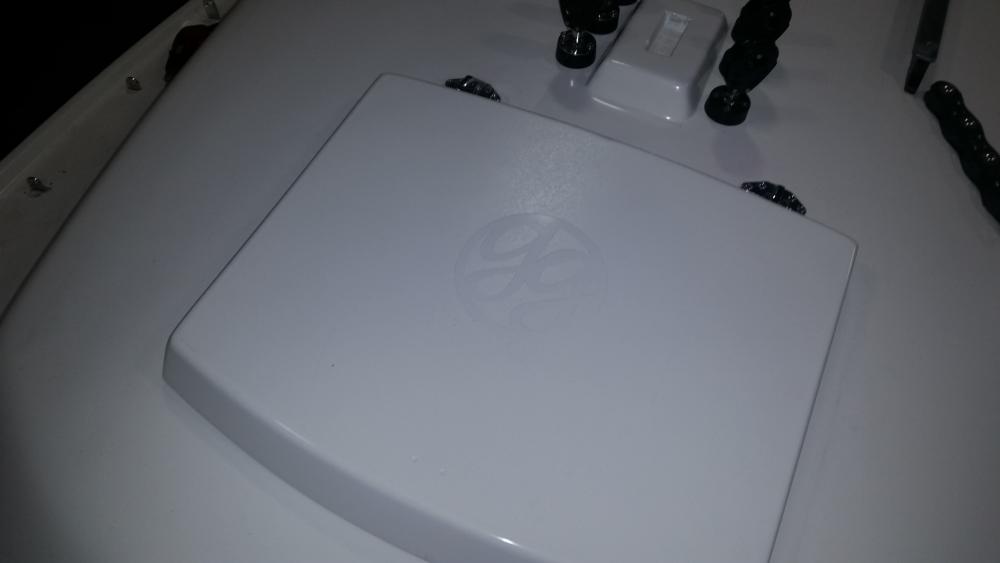
I have officially renamed Bisquit. She shall hereinafter be know as The Gail Grace (gg) for short. She has been out of paint for a while and I am just about through with installing all of the hardware and brightwork. I lead all of the halyards, the single line reefing, outhaul etc. aft. The hullsides are painted with Awl Grip "Downeast Red" a custom color they make for Morris Yachts. The deck is painted with Awl Grip in Oyster White with sprayed on nonskid. I designed a logo for the boat and incorporated it in the nonskid. You just get a cheap vinyl version of the logo cut and after you spray the smooth and it has dried - before you spray the nonskid you put the decal down. You go ahead and spray all the nonskid areas and then peel the graphic after the nonskid has dried. I have been meaning to post some pics of the progress but you know how that goes. I had custom scupper grills made in 316 stainless by a place that uses water jetting to cut them from stainless steel. Time to start the next project. I'm going to re-power her with a little Yanmar diesel.
Attachment 9744
Last edited by Bisquit; 01-01-2016 at 03:33 PM.
 Posting Permissions
 Reply With Quote