+ Reply to Thread
Page 7 of 14 FirstFirst 1 2 3 4 5 6 7 8 9 10 11 12 13 14 LastLast
Results 91 to 105 of 198

Thread: Trip To The Jersey Shore

  1. #91
    Join Date
    Nov 2009
    Location
    Brooklyn, NY
    Posts
    467
    Thanks Jerry. I love posting progress pictures. Small groups of individuals sharing obscure information and techniques online is all that keeping this culture from barbarism, ah!

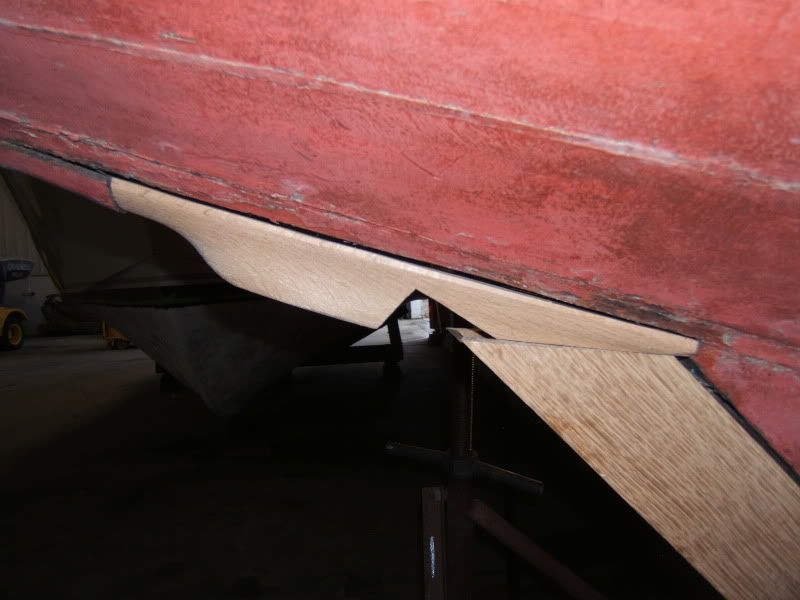
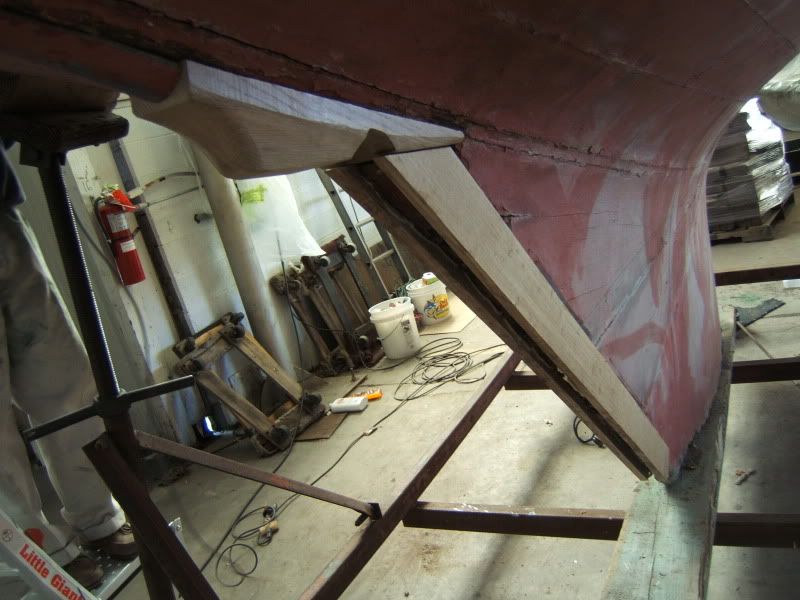
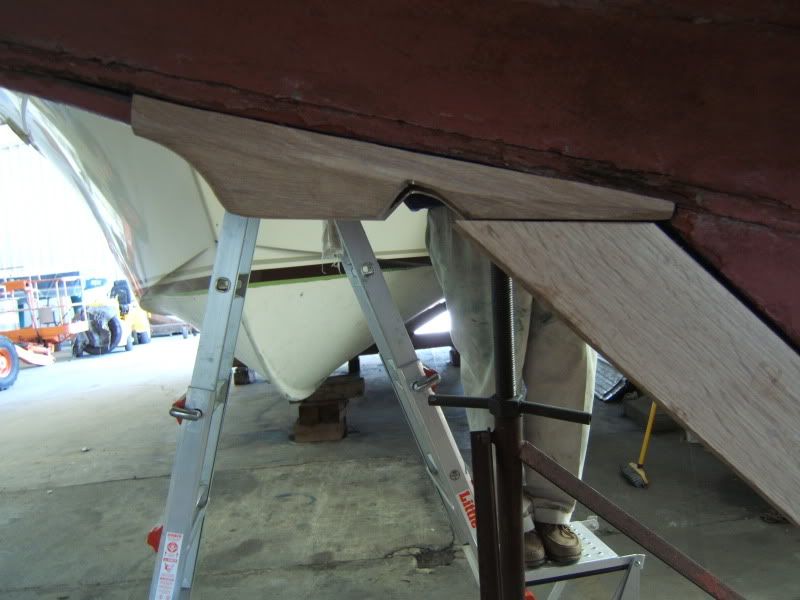
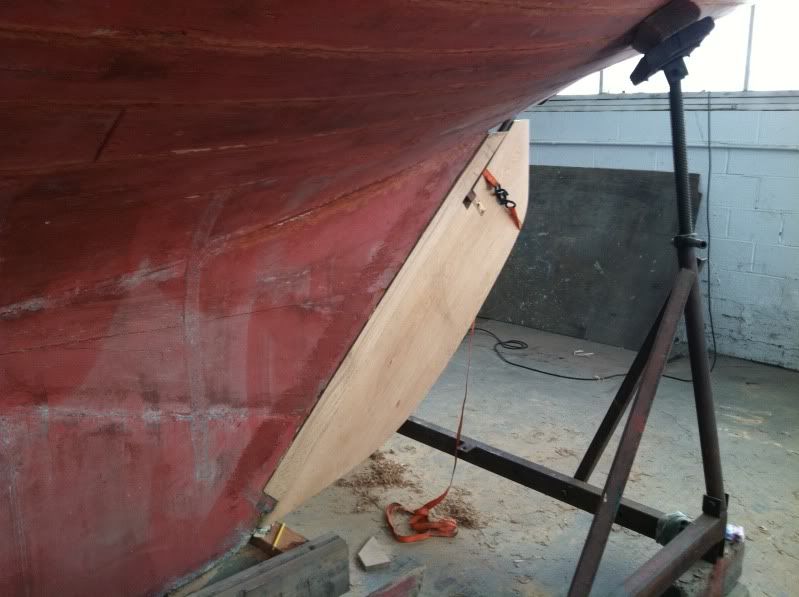
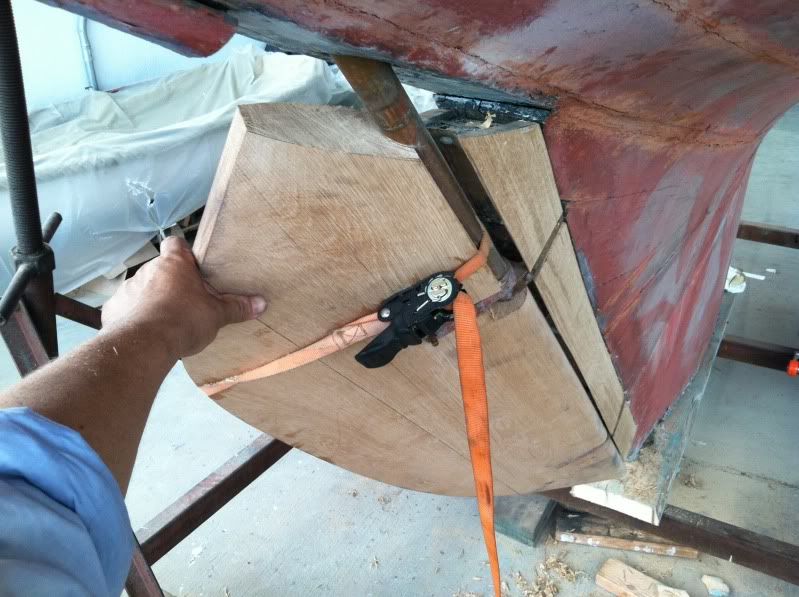
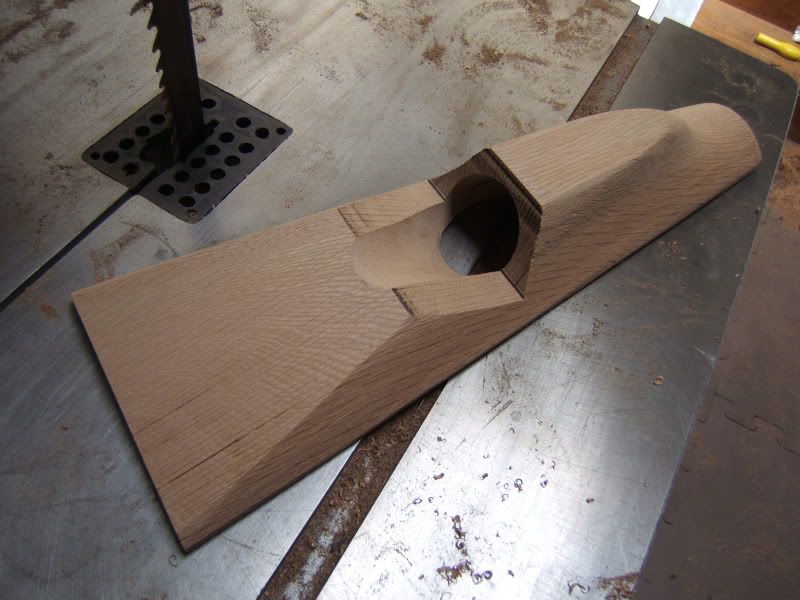
    Got out the trusty round Stanley Sure-Form and finished roughing out the rudder stock fairing. When it's attached to the hull I don't think it will take too long to match up with the hull's curves. This was fun to make. If there had been Sure-Forms back in Old Nat's day I'm sure he'd have been using them to make his half-models.


  2. #92
    Join Date
    Nov 2009
    Location
    Brooklyn, NY
    Posts
    467
    Here's that rudder stock fairing being fitted onto the S-Boat hull. I'm actually going to try again making this piece. I need to use a thicker piece to make the protruding hump extend further downward and match the original specs. I'm currently epoxying two thick boards of white oak together for second try blank.


  3. #93
    Join Date
    Sep 2008
    Location
    Brooksville, FL
    Posts
    720
    I don't even want to talk about the things I made over for Destiny....everything from the structural support beam to the tiller. But a thing worth doing is worth doing right so I do what I must. It sounds like you feel the same way.
    JERRY CARPENTER - C147
    A man can succeed at almost anything for which he has unlimited enthusiam.

  4. #94
    Join Date
    Nov 2009
    Location
    Brooklyn, NY
    Posts
    467
    Totally agree with you Jerry. I learned a great deal making that first attempt. I'm really enjoying all these sailboat projects, there's some kind of poetry to the work. It's a nice break from my regular fabricating work.

    Ben

  5. #95
    Join Date
    Nov 2009
    Location
    Brooklyn, NY
    Posts
    467
    OK, the second try on the Brancusi like S-Boat rudder stock fairing. Early tomorrow up for the fitting. I left more meat on this one, I'll hog it down after it's been on the hull.


    Some S-Boat details I took last week:

    I love these old spinnaker sheet cheek blocks. I got these on my mind because I'm installing spinnaker sheet blocks on the Ariel right now, something modern though, Spectra loops.


    The curved S-Boat mast. These are built curved. The dreaded running backstays are also pictured. You can straighten the mast with an adjustable headstay that is controlled by some kind of leverage in the cockpit. The bow shot shows the headstay running through the deck.


    Last edited by Ariel 109; 05-06-2011 at 06:05 PM.

  6. #96
    Join Date
    Jan 2004
    Location
    Scarborough, Maine
    Posts
    1,439
    Very cool pics! Beautiful! Maybe I'm missing something, but I gotta say, that little piece of hardware attached to the stem, holding the block and the ENTIRE mast up, makes me quite nervous.
    Mike
    Totoro (Sea Sprite 23 #626)

  7. #97
    Join Date
    Nov 2009
    Location
    Brooklyn, NY
    Posts
    467
    Quote Originally Posted by mbd View Post
    Very cool pics! Beautiful! Maybe I'm missing something, but I gotta say, that little piece of hardware attached to the stem, holding the block and the ENTIRE mast up, makes me quite nervous.
    Thanks!

    Well the jibstay, that green turnbuckle thingamajig behind the adjustable forestay is what holds the mast up from the bow. The adjustable forestay is just to take the curve out of the top section of the mast. Most boats that are fractional sloops, like the S-Boat and the Pearson Triton, have masts that get most of their forward support from a cable that is not attached to the top of the mast.

    After you see one of these S-Boat masts under load in a heavy wind the Ariel's mast and rigging looks very oversized, which is great.

    Up this morning to fit the rudder stock fairing block and this view greeted me as I walked in the boat shed. This is Dilemma and Kandahar floating in the ether.


    The "second attempt" roughed out fairing block fit very nicely, a big relief. Now I'm going to start planing, rasping, filing and sanding all this into shape so we can hang the new rudder. It's all still fun.


    Here's the latest sailing book I've been reading. An unsentimental record of a journey from Chile to South Africa by an Irish poet.


  8. #98
    Join Date
    Nov 2009
    Location
    Brooklyn, NY
    Posts
    467
    This nice boat was put back in the water today after being stored inside for the past five years. She's a Sparkman and Stevens design built by the famous Derecktor yard in 1955. I really like the tiller lock, winch stands and the trove of other nice details. There's a pretty Commander in the background of some of these photos.


  9. #99
    Join Date
    Nov 2009
    Location
    Brooklyn, NY
    Posts
    467
    I've been progressing on the S-Boat rudder. Roughed out more of the shape and started to attach the hardware. It's all gudgeons and pintles for awhile now.


  10. #100
    Join Date
    Nov 2009
    Location
    Brooklyn, NY
    Posts
    467
    I needed to drill holes for the bronze drift pins that hold the S-Boat's rudder together. The challenge being to drill the long holes as straight as possible and not pop out somewhere along on the rudder's surface. First I leveled the rudder's centerline and clamped it to a surface. Next I used an electric drill, 1/4" installers bit and small bubble level which has a vee notched on it's base, for leveling pipe, and rested that on the drill bit to control level while drilling. With the 1/4" pilot holes complete I dug out my old childhood brace and a long 5/16" bit to drill the full sized holes. The large holes you see on the rudder's leading edge are for countersinking the drift pin heads and allowing for wood covering plugs. Next stop red lead paint.

    Last edited by Ariel 109; 05-26-2011 at 07:24 AM.

  11. #101
    Join Date
    Sep 2008
    Location
    Brooksville, FL
    Posts
    720
    Ben

    Like you I sometimes find the old time hand tools really are the best for a particular project. I don't own as many as I would like to but the ones I do I use a lot.

    Looks like it worked well for you.
    JERRY CARPENTER - C147
    A man can succeed at almost anything for which he has unlimited enthusiam.

  12. #102
    Join Date
    Nov 2009
    Location
    Brooklyn, NY
    Posts
    467
    I was able to fit the rudder on S-Boat for the first time this afternoon. I lucked out, the fit is really pretty good. Still a mess more work to do before we can go sailing, but we're getting there!


  13. #103
    Join Date
    Nov 2009
    Location
    Brooklyn, NY
    Posts
    467
    A very hot day in the old city that never sleeps. So escape up to Mamaroneck to fiddle around more with the infamous S-Boat rudder project. Gudgeons and pintles in place, fairing up the keelpost continues and shows great promise. I should be done with all this but real life keeps intruding.


  14. #104
    Join Date
    Nov 2009
    Location
    Brooklyn, NY
    Posts
    467
    Finally got the rudder stock fairing screwed into place. Still way more forming to get everything nicely faired.


  15. #105
    Join Date
    Nov 2009
    Location
    Brooklyn, NY
    Posts
    467
    I found this link to a scan of an old Merriman Brothers catalog from the stone age, nicely done.

    http://members.cox.net/classicyachts/merriman.html

+ Reply to Thread

Posting Permissions

  • You may not post new threads
  • You may not post replies
  • You may not post attachments
  • You may not edit your posts