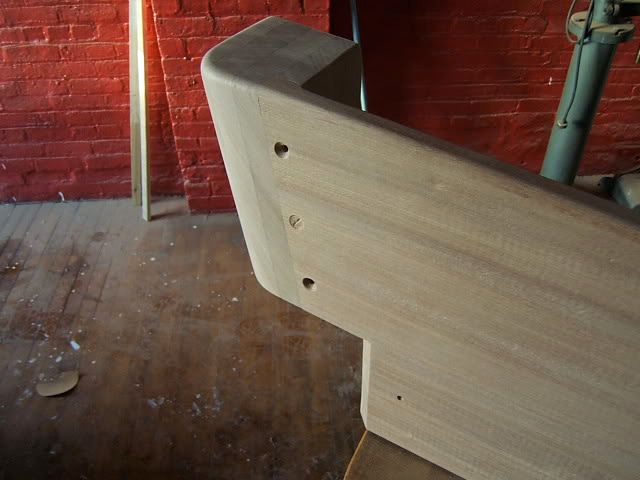
Fitting a coaming block on one of the coamings. I'm not going to use any plugs over the screw heads. Great fun working on this boat. It's like the shoemaker finally making himself a pair of shoes.

Fitting a coaming block on one of the coamings. I'm not going to use any plugs over the screw heads. Great fun working on this boat. It's like the shoemaker finally making himself a pair of shoes.
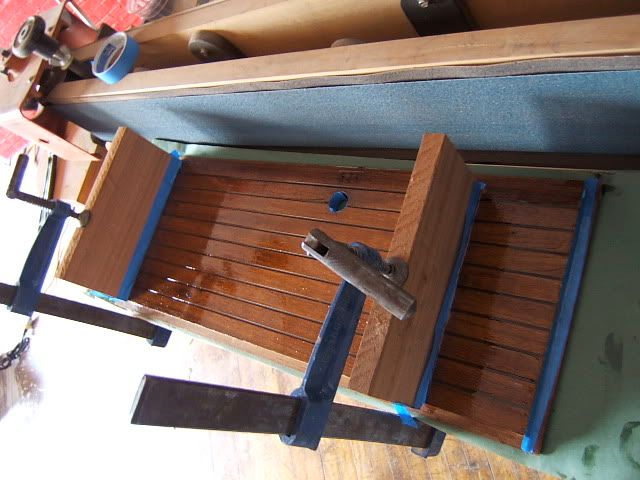
Ready to varnish. I used the old winch stands as jigs to accurately drill the 1/2" bolt holes through the blocks.
Where's that brush.
Ben
Last edited by Ariel 109; 01-28-2010 at 12:30 PM.
If that doesn't quicken the pulse of anyone looking at these pictures a visit to the doctor is in order.
You have a lot of good stuff going on, Ben. I, for one, am impressed and envious by the quality of work you are putting into number 109. Keep up the good work and photo posting!
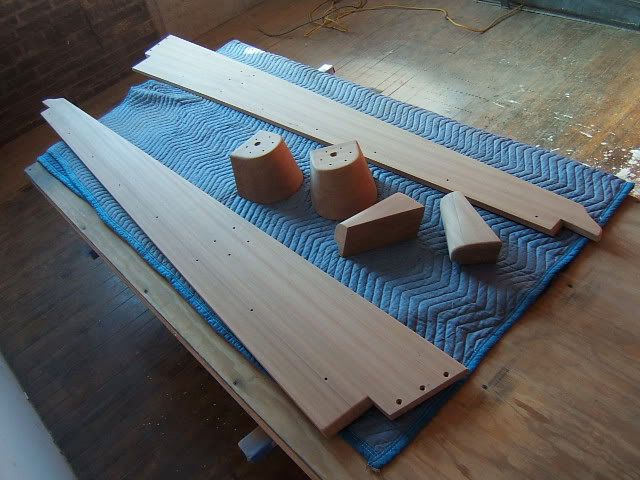
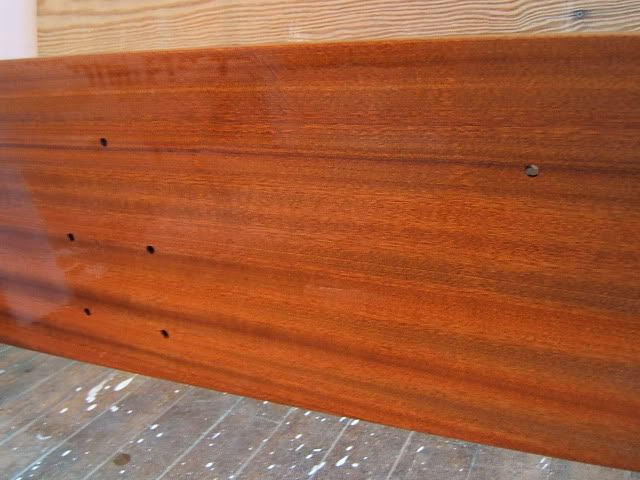
If anybody was wondering what Sepele looks like with a finish. These are quarter sawn boards so they have ribbon stripes.
Ditto Tony's remarks Ben. That woodwork is absolutely gorgeous and is going to be breath taking when you get it all varnished up and installed! Nicely done!
Mike
Totoro (Sea Sprite 23 #626)
Thanks guys! I'll keep posting progress shots. I've learned so much from going through this site's old postings. And it's important to get feedback and contribute what I can to the forum's "knowledge base".
If you're thinking of making coaming boards for your boat out of Sepele my advice is to save money and not to buy thicker boards to plane down at your shop. One inch thick coamings? Buy the 4/4 S2S Sepele at the yard. Be select and go through the pile. Sepele sands out beautifully with a random-orbit sander and you run the risk of grain tear-out with a planer. Those two boards I bought cost $135.00. Outside of NYC should be less expensive.
I've started searching on Craigs List for an old Singer industrial sewing machine to make new cushions for 109. I'm surrounded by friends and family who work in the fashion industry and have gotten some good advice. Should be fun!
Ben
Last edited by Ariel 109; 01-30-2010 at 07:26 AM.
Beautiful woodwork Ben.
Just noticed your 'reverse engineering' comment about the coaming blocks and winch bases.
Noticed that also when trying the angles. But it also turned out to be a piece of cake to not only bandsaw the angles by tilting the table but also to saw the curve. Carefully. By slowly walking it around the blade with the blade-guard WAY up. So fine to have the finished shape suddenly appear like magic.
Can often make cuts in a block and tape them back together so that they stay wide enuf on their base to cut long curves out on a 90degree table.
Last edited by ebb; 01-30-2010 at 08:56 AM.
Ebb
Excellent comment. The block and tape cutting technique is so easy and elegant. That would be a good demo to do. With a sliding panel saw you overlook many ingenious solutions, everything is clamp and push.
I didn't use the band-saw to cut the curves on the winch blocks because all my blades are too wide for that radius. I suspect that the Pearson factory used a stationary belt sander to make the originals. My old blocks have parallel sanding lines in them. But a rasp, file and sandpaper would do just as good of a job. And build muscles and character.
Ben
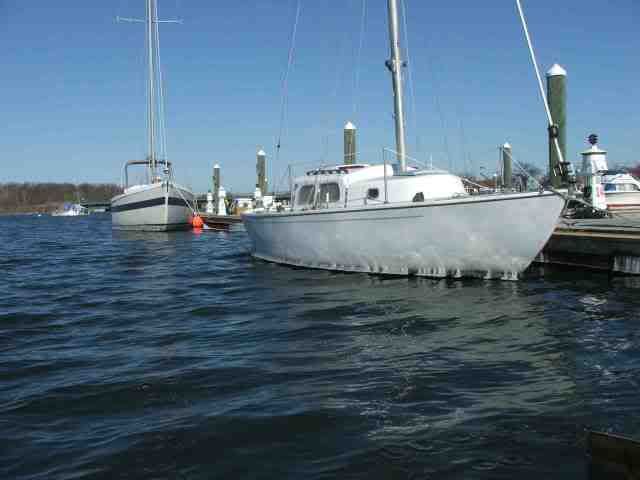
Up to City Island to check up on the boats. My Ariel seems to be growing a beard.
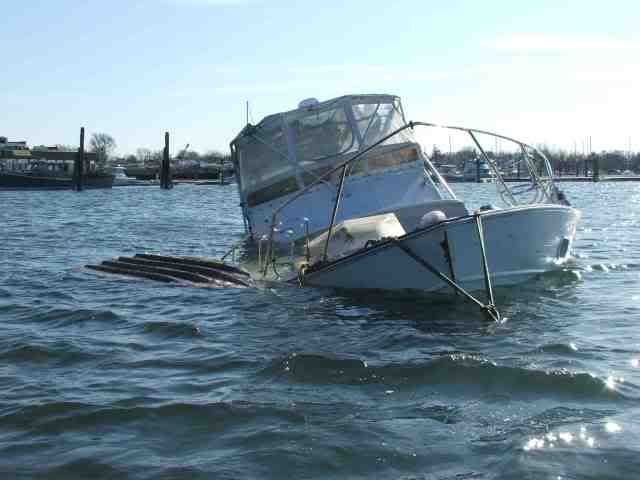
One of the local live-aboard boats sank at it's mooring. They are going to try and pump it out tonight at low tide.
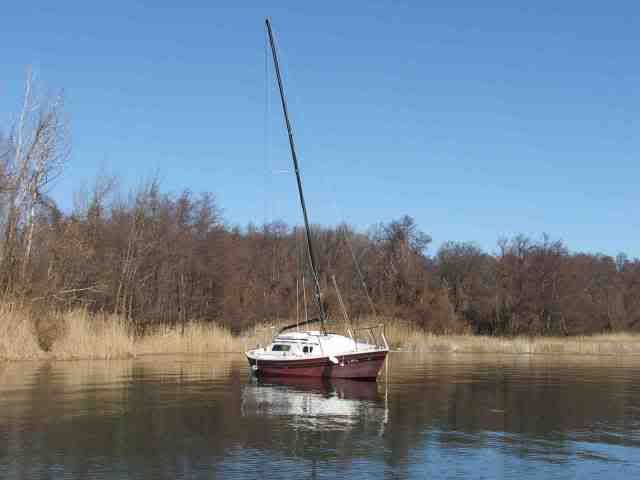
This neglected Bayliner Buccaneer snapped loose from it's moorings and ran aground in the mud across the "harbor" from my docking. It's listing from someone leaving it's hatch open and the rain-water creating a large block of ice inside the hull. This boat is too new to end up like this, what a waste. This design later became the Pearson 25.
Last edited by Ariel 109; 01-31-2010 at 07:20 PM.
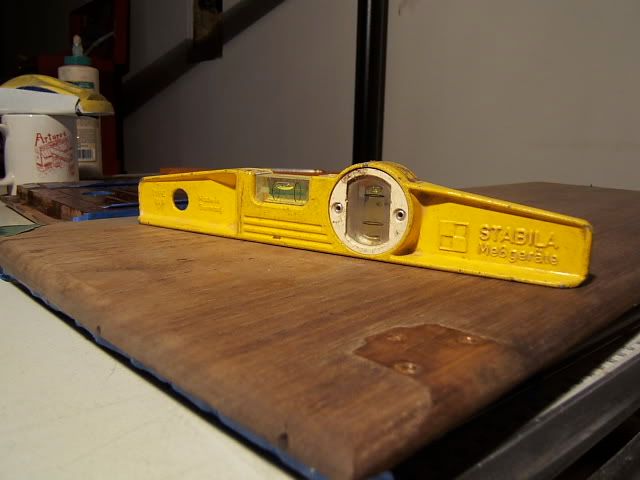
Let's see if this works. 109's hanging closet solid-teak door and one of the small doors opposite are badly cupped (warped). On the table saw I made a bunch of kerf-cuts on the backs of the doors, clamped them flat and then filled them with epoxy. Now I wait.
Ben
It actually makes for a good look on the door also.
Seems to work. This door had a cup about 3/16" deep before. I'll have to do the two remaining teak cabinet doors now.
PURE genius!
....Now that I understand that the macho clamping pic (#55) showed the closed side of the door!
But I did think the 'wainscot' look was unique and looked pretty good on the 'show' side.
The even spacing is very classy indeed! Very nice!
How deep did you make the kerfs?
Are you going to put cross cleats across the back - or do they seem unnecessary?
Thanks for sharing this great tip!
Last edited by ebb; 02-03-2010 at 07:52 AM.
Thanks.
The kerf-cuts are 3/8" deep. About half the thickness of the door. I'm going to skip the cleats and hope that maintaining a generous oil finish will keep the doors straight. Ha, we'll see! The proper cleat here would be one that would move with the door as it expands and contracts and affixed by sliding dovetails or screws with over-sized holes. But these doors aren't that wide. And I hope after my deck is fixed things will settle down below.
To get nice even spacing I use luck and an equal spacing divider.
I've been told that the neglected run-away Bayliner Buccaneer is docked next to my Ariel thanks to the NYPD Harbor Patrol. There goes the neighborhood! And the sunken cabin-cruiser is still on the bottom.
Ben
Advice about flatting the teak doors with kerf cuts.
Take the doors off the boat and let them dry out. Uneven moisture content between the inside and outside is what caused the cupping.
Sand the backs to remove excess epoxy soon after un-clamping. You want both sides of the door to absorbed moisture evenly so everything stays flat.
Make sure you finish (oil / varnish) both sides of the doors.
My doors are still flat.
Ben
Last edited by Ariel 109; 02-05-2010 at 07:31 AM.
 Posting Permissions
 Reply With Quote