-
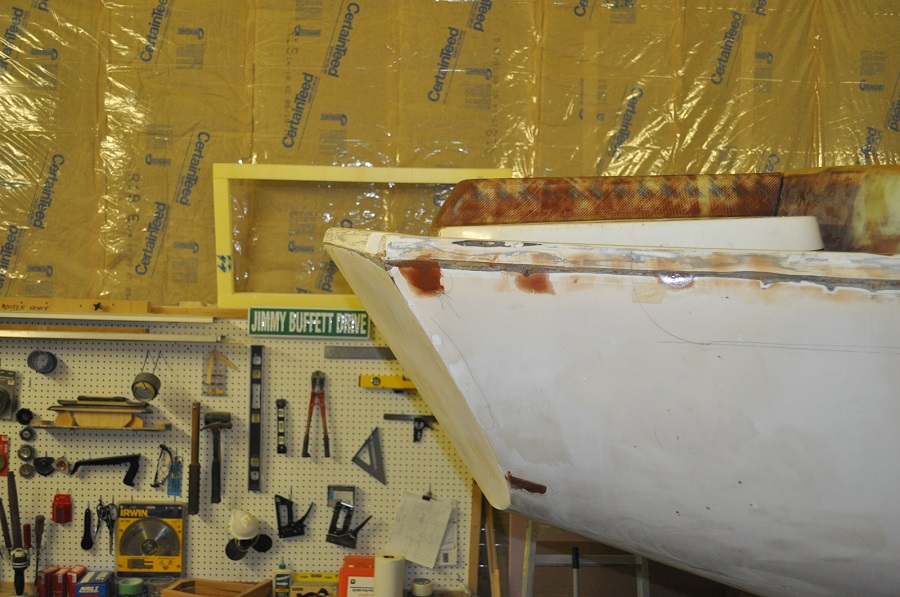
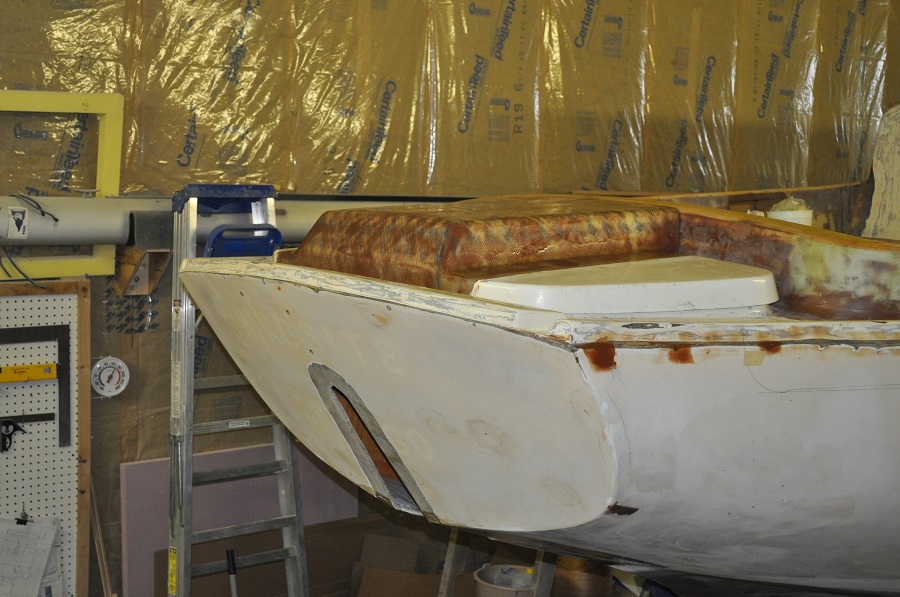
We really lucked out, in my opinion, that the wrap-around coaming I added a few years back can remain in place, along with the traveler, after adding this mod. We did have to cut a "chunk" out of the back side of coaming but there was enough structure left to beef up and keep some strength there.
The lazarette hatch is a different story though. One of the previous owners added a couple of clam shell vents to the hatch on their watch, but never isolated the coring after cutting the 2" vent holes and poking a couple of screws through the top skin. Needless to say there was some delaminating going on in that area, but in reality, I never felt that was an area I'd be walking around on anyway. Maybe I'm wrong there.  I am very happy to say there as no delamination anywhere else on the boat though!
We added the obligatory "hatch hutch", or, "bump" or whatever you want to call it. I started by cutting out the top skin to roughly the internal size of the bump and removing the core along the sides that would remain.
Then we made a male mold out of Styrofoam and covered it in plastic tape to act as the release agent. I tried to follow the lines of the cockpit foot well for the taper, the arch of the coaming for the top, and the angle of the reverse sheer of the transom. The form received two layers of the 1208 and a single layer of 3.2 ounce. Yes, it is a bit "rough" yet and will get several layers of micro balloons to fair it out. If you notice, you can see the print on the tape showing through.
Once the new top skin cured, we flipped the hatch over and cut out the bottom skin and the forward piece of the remaining original structure. I was a little nervous hoping that I didn't severely weaken the hatch turning it into a bigger project, but it seemed pretty rigid for what remained. Although no where near strong enough to be used in its current state. We added a core of 1/4" marine plywood in a simple slab. I toyed with the idea of cutting the core into a XX shape in order to added more of a multiple stringer-like, or, webbing-like structure, but in the end kept it simple. If I find that the coring doesn't add enough strength as is, we can always add transverse stringers.
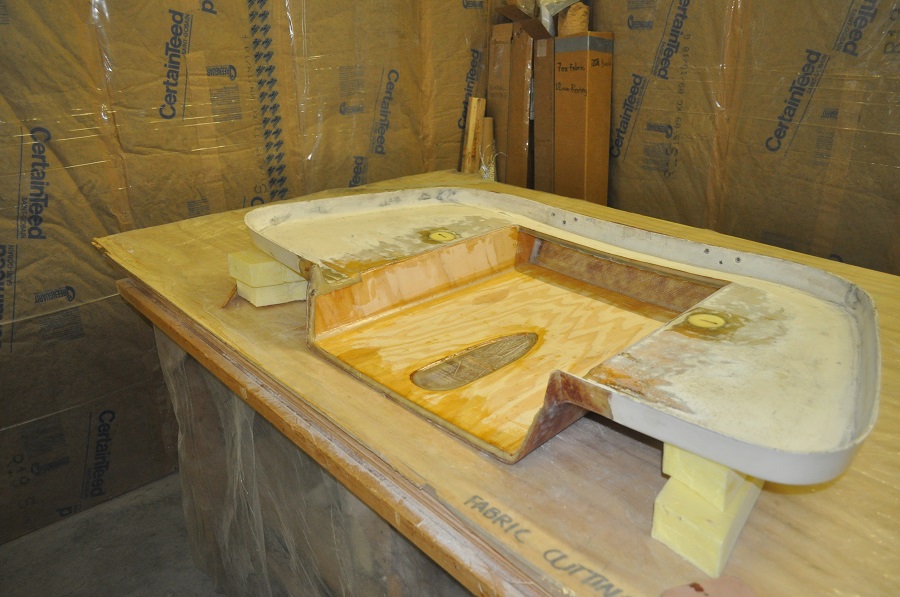
The cut-out in the coring is to allow a little more room for a couple of protrusions on the back of the outboard when it is tilted forward in the "sailing" position. This side received a layer of 7 ounce cloth to tie it together. Tomorrow evening I'll get to see how stiff the piece actually is after curing for a couple of days.
My home has a keel.
 Posting Permissions
- You may not post new threads
- You may not post replies
- You may not post attachments
- You may not edit your posts
Forum Rules


 Reply With Quote